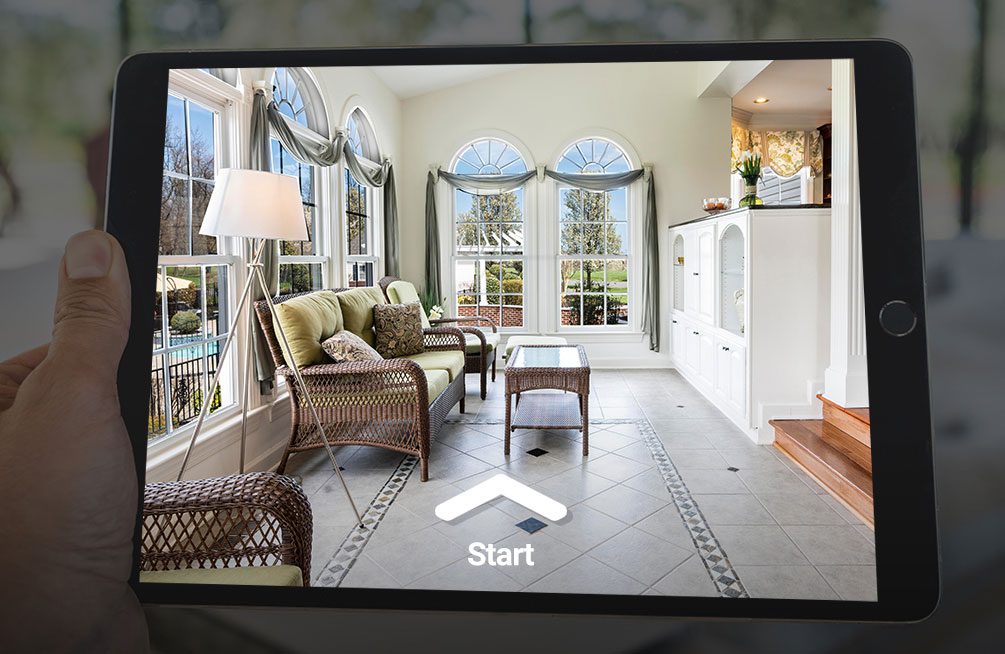
Creating a virtual tour for real estate involves several steps, including planning, capturing the necessary visuals, and using software to stitch everything together. Here’s a step-by-step guide to help you create a professional virtual tour:
1. Plan the Virtual Tour
- Identify Key Areas: Determine which parts of the property will be highlighted in the tour. Typically, you’d include all main living areas, bedrooms, bathrooms, kitchen, and outdoor spaces.
- Decide on the Flow: Plan how the viewer will move through the property. This will help you decide the order in which you will shoot each area.
- Prepare the Property: Ensure the property is clean, well-lit, and staged. Remove personal items and clutter to make the space look more appealing.
2. Capture High-Quality Visuals
- 360-Degree Camera: Use a 360-degree camera to capture panoramic images of each room. Popular cameras include the Ricoh Theta, Insta360, or GoPro Max.
- Standard Camera: You can also use a DSLR or mirrorless camera for high-resolution images and videos, especially for detailed shots or specific features.
- Lighting: Make sure the property is well-lit. Use natural light where possible, and add supplemental lighting if necessary.
- Tripod: Use a tripod to keep your camera steady, ensuring sharp images and consistent angles.
3. Use Virtual Tour Software
- Choose a Platform: Select a virtual tour software that suits your needs. Popular options include:
- Matterport: Known for its 3D tours, Matterport is a comprehensive platform that allows you to create detailed and interactive tours.
- Kuula: A user-friendly platform for creating 360-degree virtual tours.
- Pano2VR: Ideal for creating customizable tours with detailed control over hotspots and navigation.
- Upload Photos: Import the 360-degree images and standard photos into the software.
- Create Hotspots: Add clickable hotspots that allow users to navigate from one room to another. You can also include additional information, such as descriptions, videos, or links.
- Customize the Tour: Adjust settings, such as transitions, zoom levels, and the overall interface. Some platforms also allow you to add floor plans, music, or voiceovers.
4. Publish and Share
- Test the Tour: Before publishing, test the tour to ensure it works smoothly on various devices (desktop, mobile, VR headsets).
- Publish: Once satisfied, publish the tour. Most platforms provide a link or an embed code that you can add to your website, share via social media, or send to clients.
- Promote the Tour: Share the virtual tour on your real estate listings, social media, and other marketing channels to reach a wider audience.
5. Optional Enhancements
- Add Virtual Staging: If the property is empty, consider virtual staging to digitally furnish the rooms, making them more appealing to potential buyers.
- Include Interactive Features: Some platforms allow you to add features like virtual reality compatibility or interactive floor plans, which can enhance the user experience.
6. Monitor and Update
- Track Engagement: Use analytics tools provided by the virtual tour software to monitor how users interact with the tour.
- Update the Tour: If the property changes or you want to add new information, update the tour to keep it current.
By following these steps, you can create a compelling and professional virtual tour that effectively showcases a property and attracts potential buyers.
