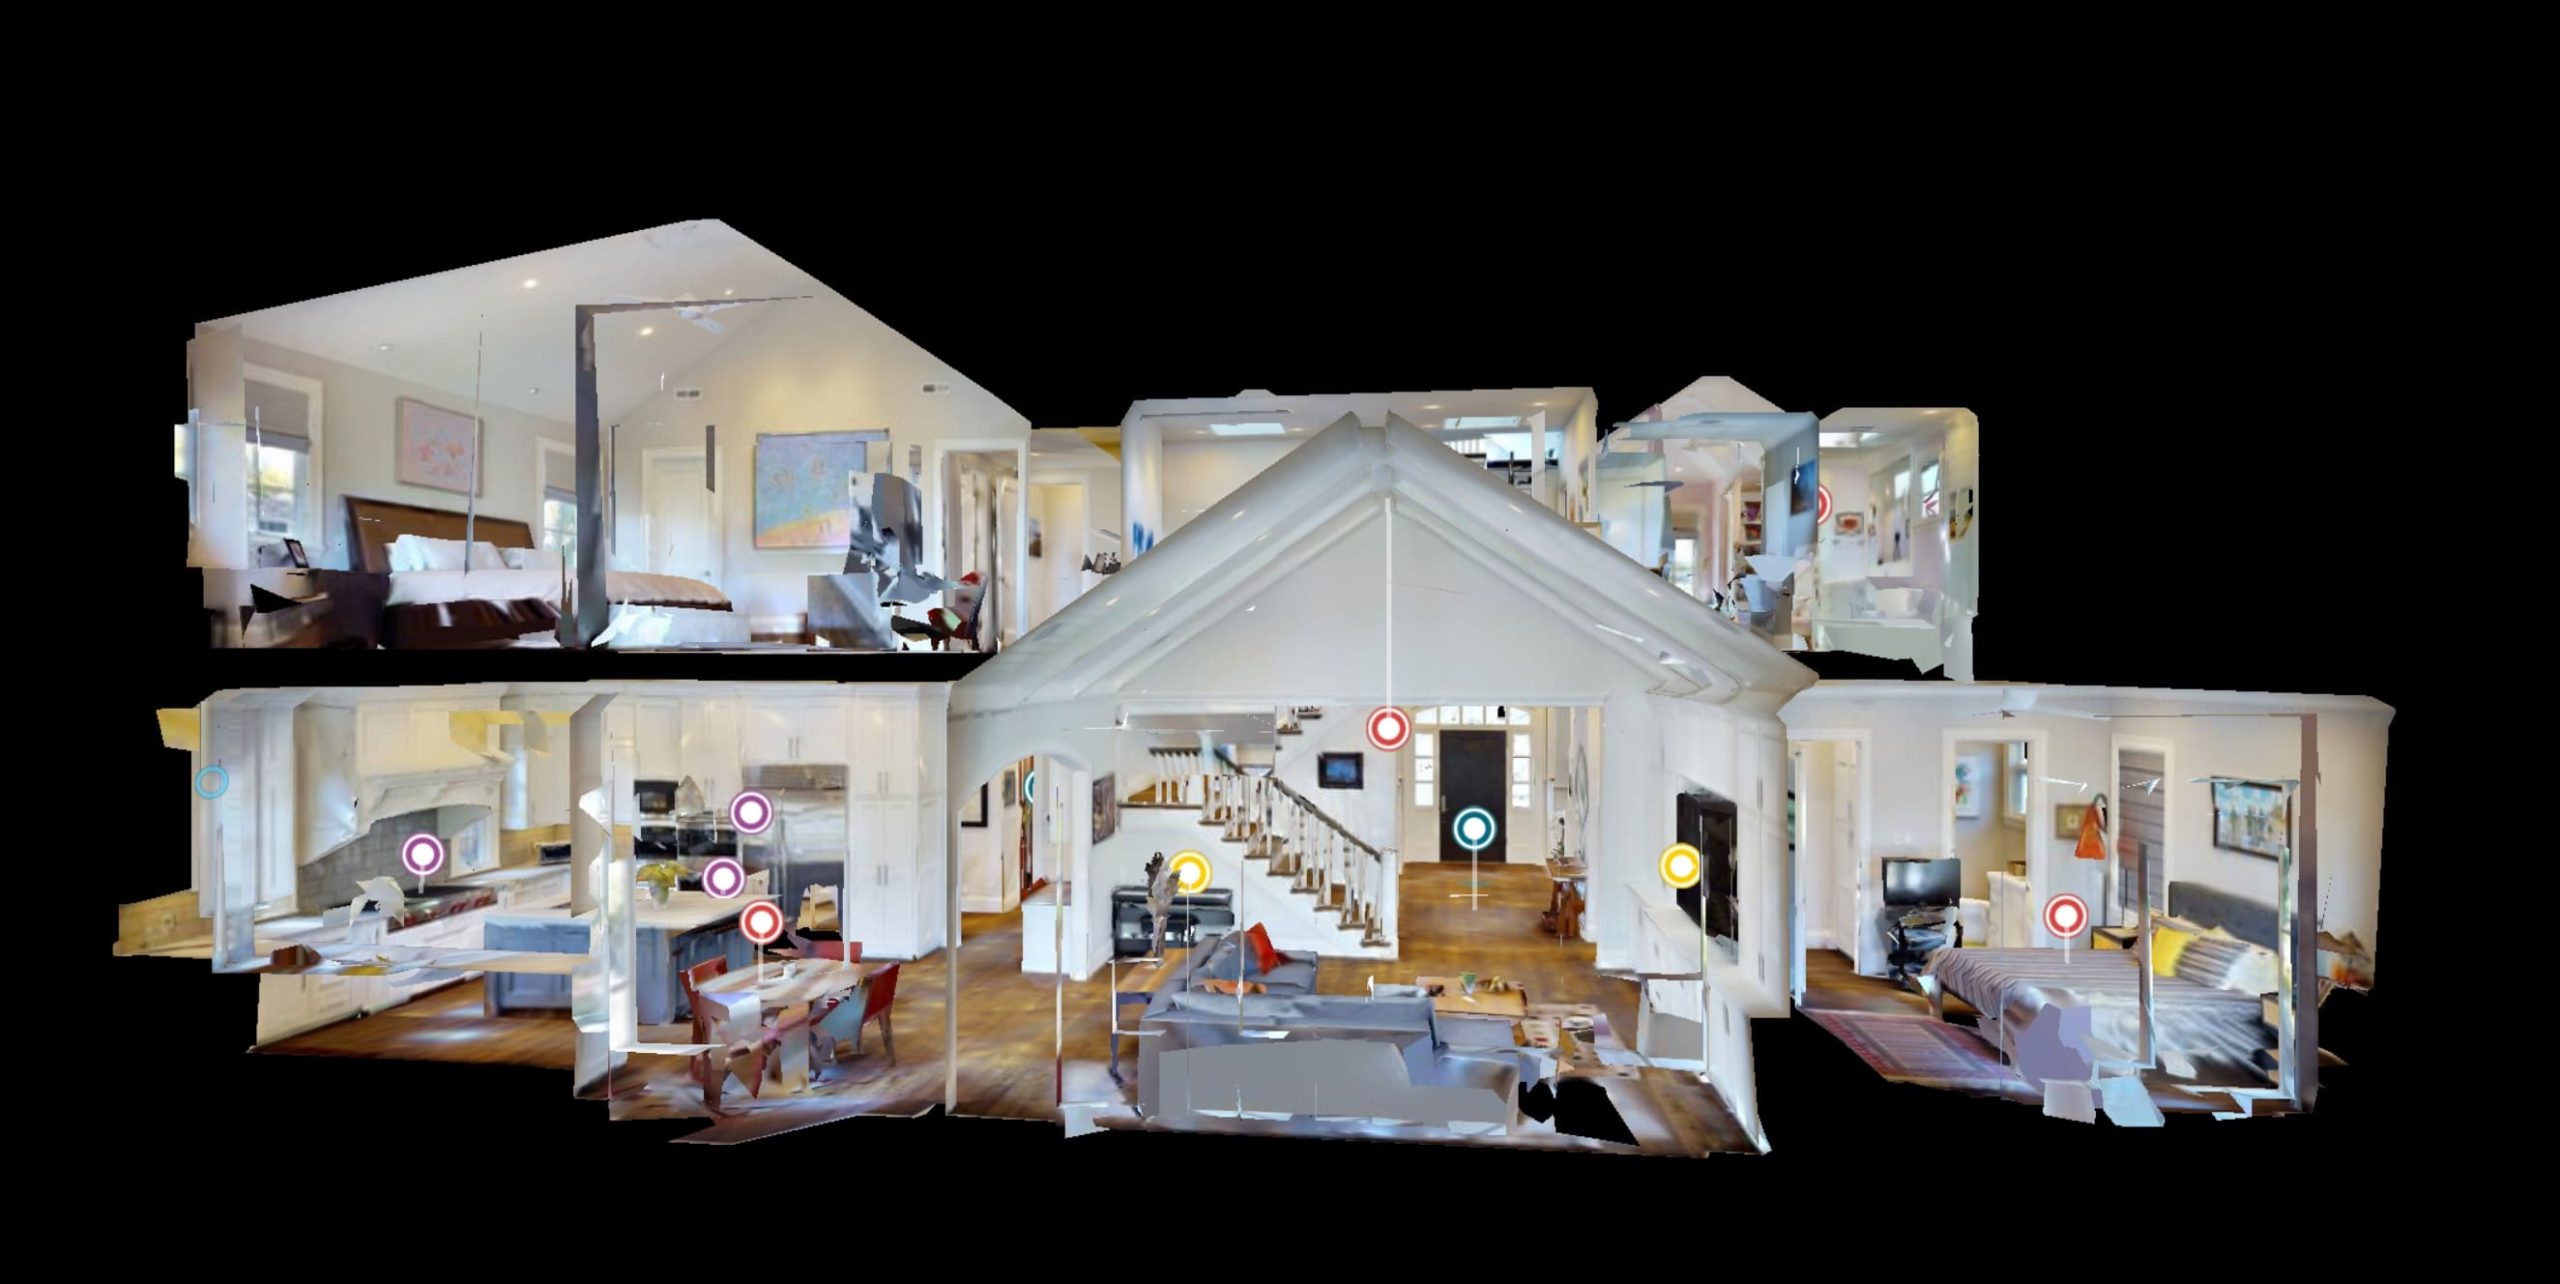
Creating a 3D home tour with Matterport involves a series of steps, from capturing the space with a compatible camera to processing and sharing the final 3D model. Here’s a detailed guide on how to do it:
1. Prepare for the Shoot
- Clean and Organize: Ensure the space is clean, decluttered, and well-lit. Arrange furniture and decor to showcase the home’s best features.
- Plan Your Path: Decide on the shooting path to capture the space in a logical and seamless manner, covering every room and angle.
2. Gather Equipment
- Camera: Use a Matterport-compatible camera. The Matterport Pro2, Leica BLK360, or certain 360 cameras (like the Ricoh Theta series) work well.
- Tripod: A sturdy tripod is essential for stable shots.
- Mobile Device: You’ll need a tablet or smartphone with the Matterport Capture app installed.
3. Capture the Space
- Set Up the Camera: Place the camera on the tripod at an appropriate height, generally around eye level.
- Open the Matterport Capture App: Connect the camera to the app via Wi-Fi.
- Start Scanning:
- Position the camera at the first scanning point and press “Scan” in the app.
- The camera will rotate 360 degrees to capture the surroundings.
- Move the camera to the next position, ensuring overlap with the previous scan to maintain alignment.
- Continue this process throughout the entire space. Make sure to scan every room, hallway, and important area.
4. Process the Scans
- Review the Scans: After completing the scan, review each point to ensure there are no errors or missed spots.
- Upload to Matterport Cloud: Once satisfied, upload the scan data to the Matterport Cloud directly from the Capture app.
- Processing: The Matterport Cloud will process the scans to create a 3D model, which can take a few hours depending on the size of the space.
5. Enhance the 3D Tour
- Edit the Model: Use the Matterport Workshop to fine-tune the 3D model. You can:
- Add Labels and Tags: Place information tags (Mattertags) on key features to provide more details.
- Set Start Location: Choose where the tour will begin.
- Highlight Reel: Create a guided tour by setting up a highlight reel.
- Floor Plans: If you need 2D floor plans, you can order them through Matterport.
6. Share the 3D Tour
- Publish the Tour: Once your model is ready, you can publish it to the Matterport Cloud.
- Shareable Link: Generate a shareable link or embed code to integrate the tour on websites, social media, or real estate platforms.
- Virtual Reality: Matterport also supports VR, allowing users to experience the tour using a VR headset.
7. Optional Features
- Analytics: Track how many people are viewing the tour and where they are spending the most time.
- Collaborate: Share the model with collaborators who can edit or view it before publishing.
This process allows you to create a professional, immersive 3D home tour that potential buyers or viewers can explore at their own pace.
Plans and Pricing

